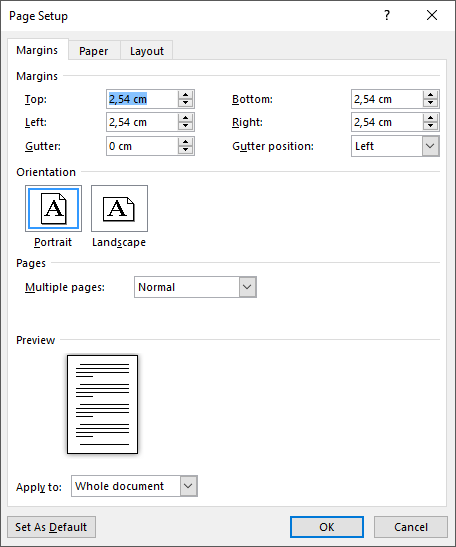
 Set custom margins in the Margins tab of Page Setup" />
Set custom margins in the Margins tab of Page Setup" />
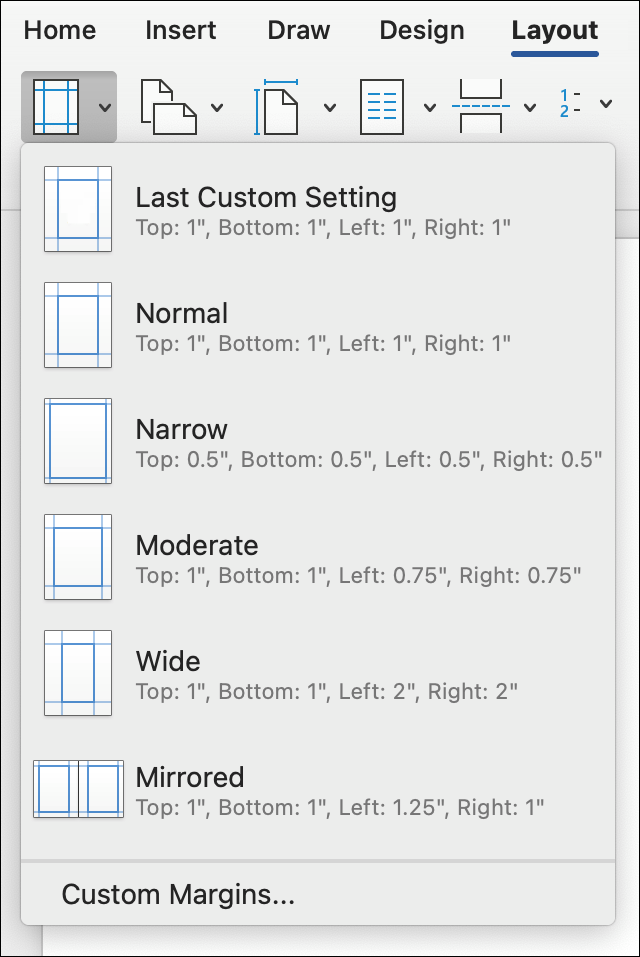
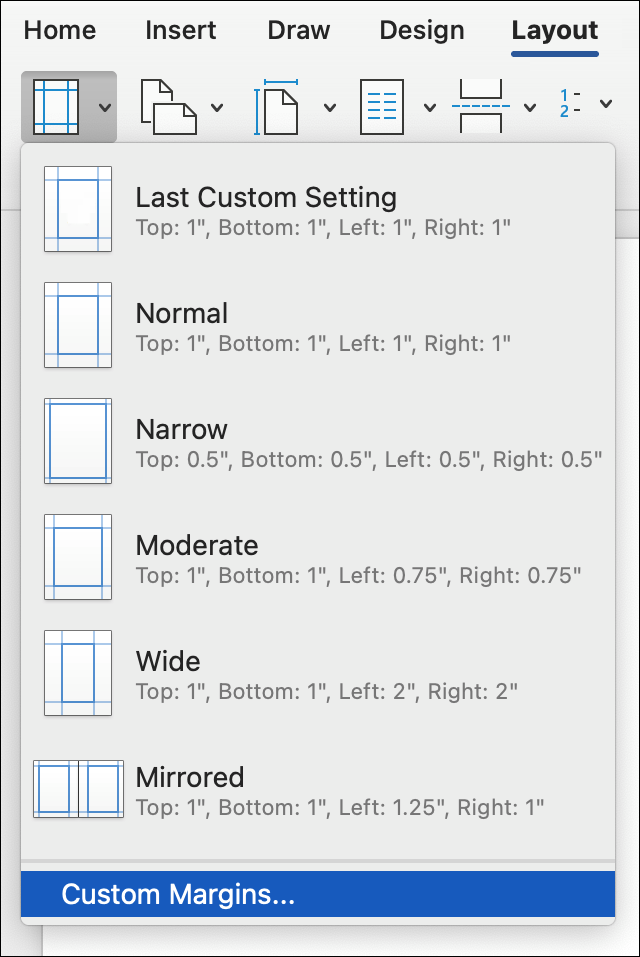
Select Custom Margins.
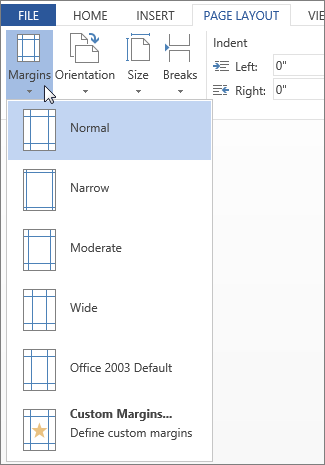 Web App Margins gallery" />
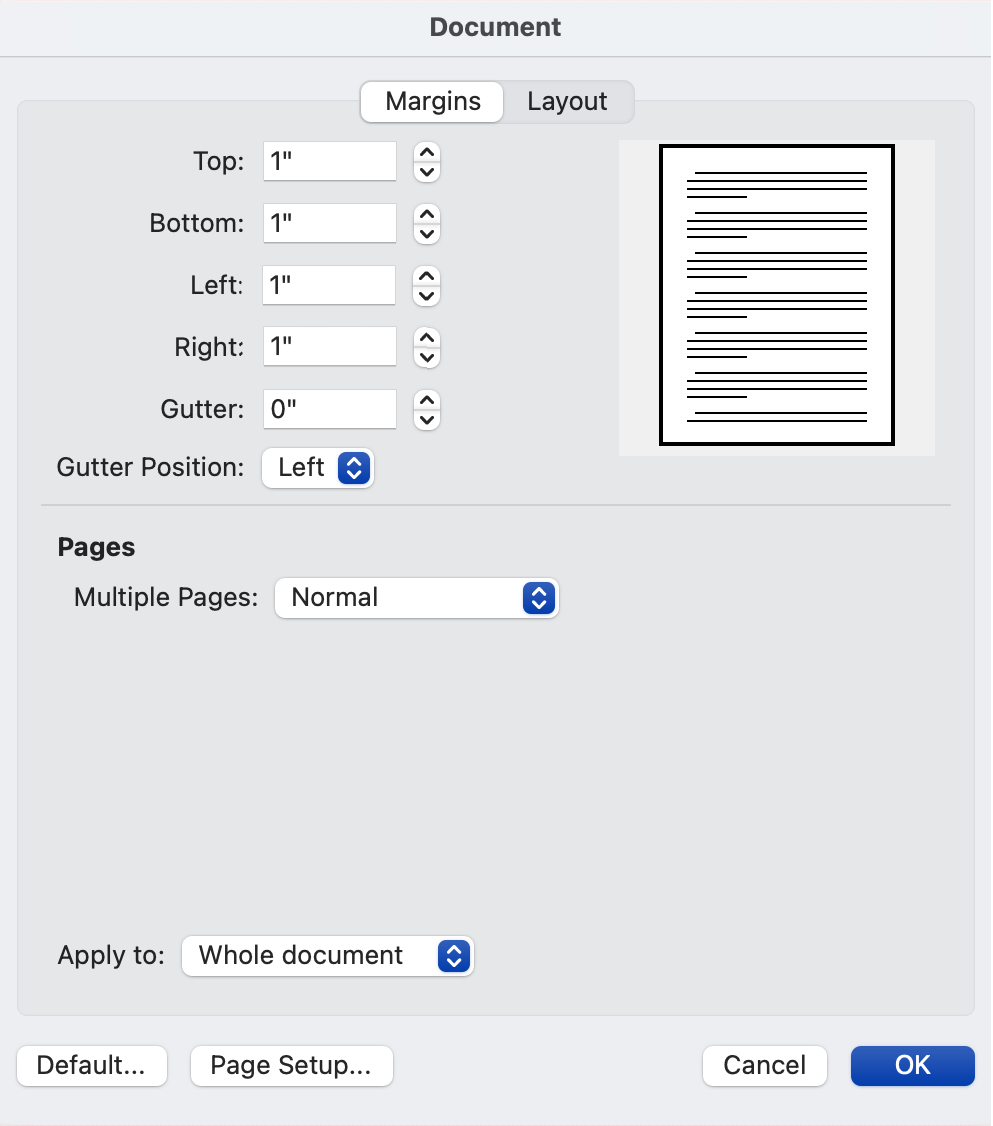
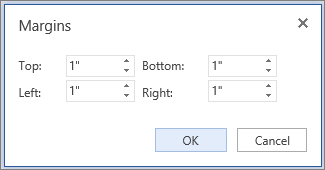 Web App Margins dialog box" />
Note: If your document contains multiple sections, the new margin type will only be applied to the current section.